Struggling to create dog bows that look professional and last? Cheaply made bows can fall apart, damaging your brand's reputation and creating safety risks. Let's fix that.
To make a professional dog bow, select a durable, washable fabric like polyester or canvas. Cut a rectangle, fold it into a bow shape, and secure the center. The key is choosing a scalable construction method, either sewing or using industrial fabric glue, and a secure attachment for the collar.
It seems simple to make a bow. You take some fabric, tie it, and you're done. But when you're a designer creating products for a brand, it's a whole different story. You have to think about durability, safety, cost, and how to make hundreds or thousands of them perfectly. I've been there, working in the factory and seeing how a small detail can make or break a product line. It’s not just about making one good bow; it’s about creating a process that delivers quality every single time. So, let’s get into the details that separate a homemade craft from a top-selling pet accessory.
What Materials and Tools are Best for Professional Dog Bows?
Choosing the wrong material is a common headache. It leads to bows that fray, fade, or fail, which is terrible for your brand's quality and customer trust.
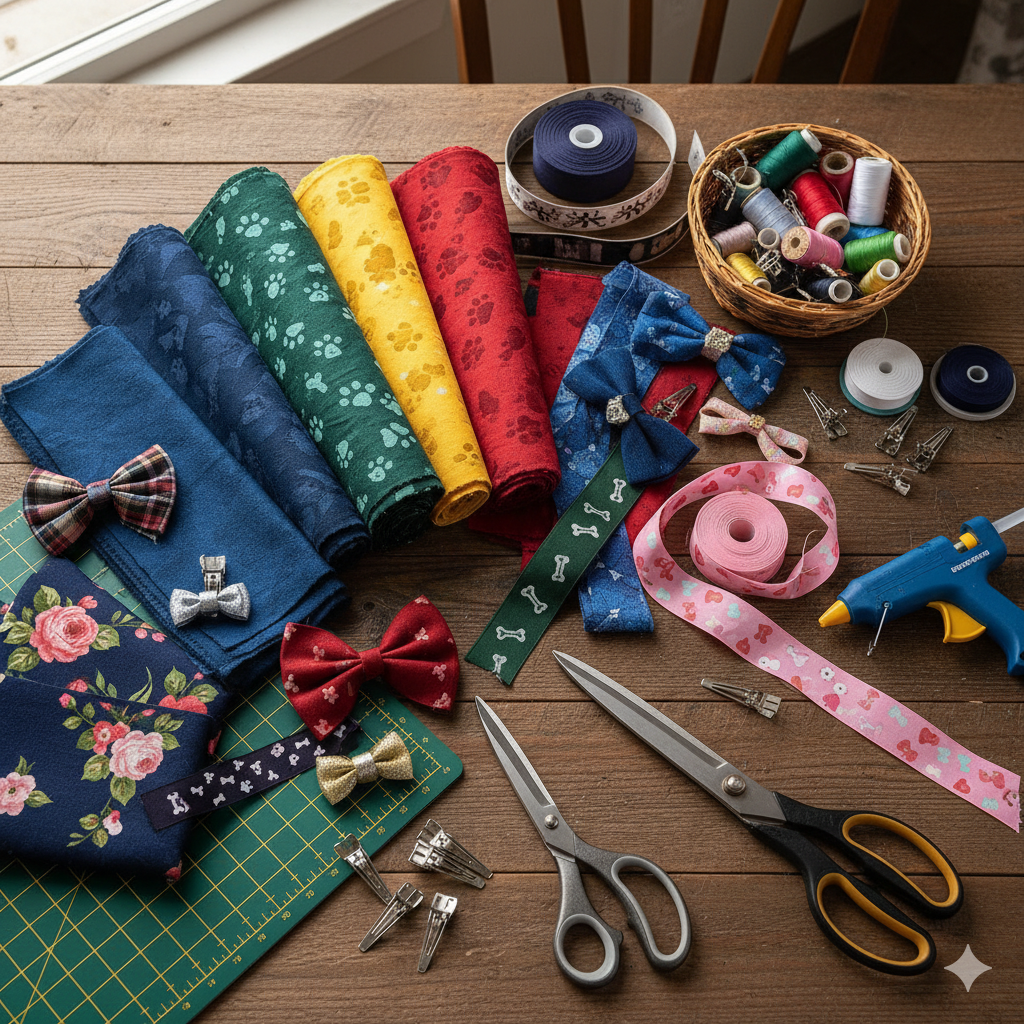
For professional-grade dog bows, always choose durable, washable fabrics like polyester, cotton canvas, or high-quality grosgrain ribbon. Essential tools include a rotary cutter and mat for precision, strong polyester thread for sewing, or a reliable industrial fabric glue for a secure no-sew bond.
When I'm developing a new accessory, material selection is my first priority. It's not just about looks; it's about performance. For dog bows, you need materials that can handle a dog's active life. This means they must be machine washable, resist fading in the sun, and be tough enough to withstand some rough and tumble play.
Material Deep Dive
I always lean towards synthetic fabrics like polyester because the colors stay vibrant and they are incredibly durable. For a more rugged, outdoor look, a medium-weight cotton canvas is a great choice. It holds its shape well and offers a premium feel. For smaller, more delicate bows, grosgrain ribbon is perfect because its ribbed texture provides structure. Always check if your materials are certified non-toxic, like with an OEKO-TEX Standard 100 label. This is a huge selling point and a critical safety measure.
Here’s a quick breakdown I use when deciding:
| Material | Pros | Cons | Best For |
|---|---|---|---|
| Polyester | Durable, colorfast, easy to clean | Less breathable | Everyday wear, vibrant designs |
| Cotton Canvas | Strong, holds shape, premium feel | Can be bulky, slower to dry | Outdoor or adventure lines |
| Grosgrain Ribbon | Great structure, wide color variety | Edges can fray if not sealed | Fashion-forward accessories |
For tools, precision is key for a professional finish. A rotary cutter and self-healing mat are non-negotiable for clean, straight edges. If you're sewing, an industrial sewing machine with polyester thread will give you the strength and speed you need for production.
How to Design a Dog Bow for Mass Production?
You've designed a beautiful bow, but the thought of making hundreds of them consistently and affordably feels overwhelming. This is a common hurdle for designers.
To design a dog bow for mass production, create a simple, repeatable pattern. Focus on a design with minimal cuts and folds. Choosing a no-sew method with fabric glue or fusible web is often faster and more cost-effective for large batches than individual sewing.
I remember one project where we designed a complex, multi-layered bow. It looked amazing, but in the first production test, the labor cost was triple what we had projected. We had to go back to the drawing board. That experience taught me a valuable lesson: for mass production, simplicity is your best friend. Your design must be easy for anyone on the assembly line to replicate quickly and without errors.
Streamlining the Bow-Making Process
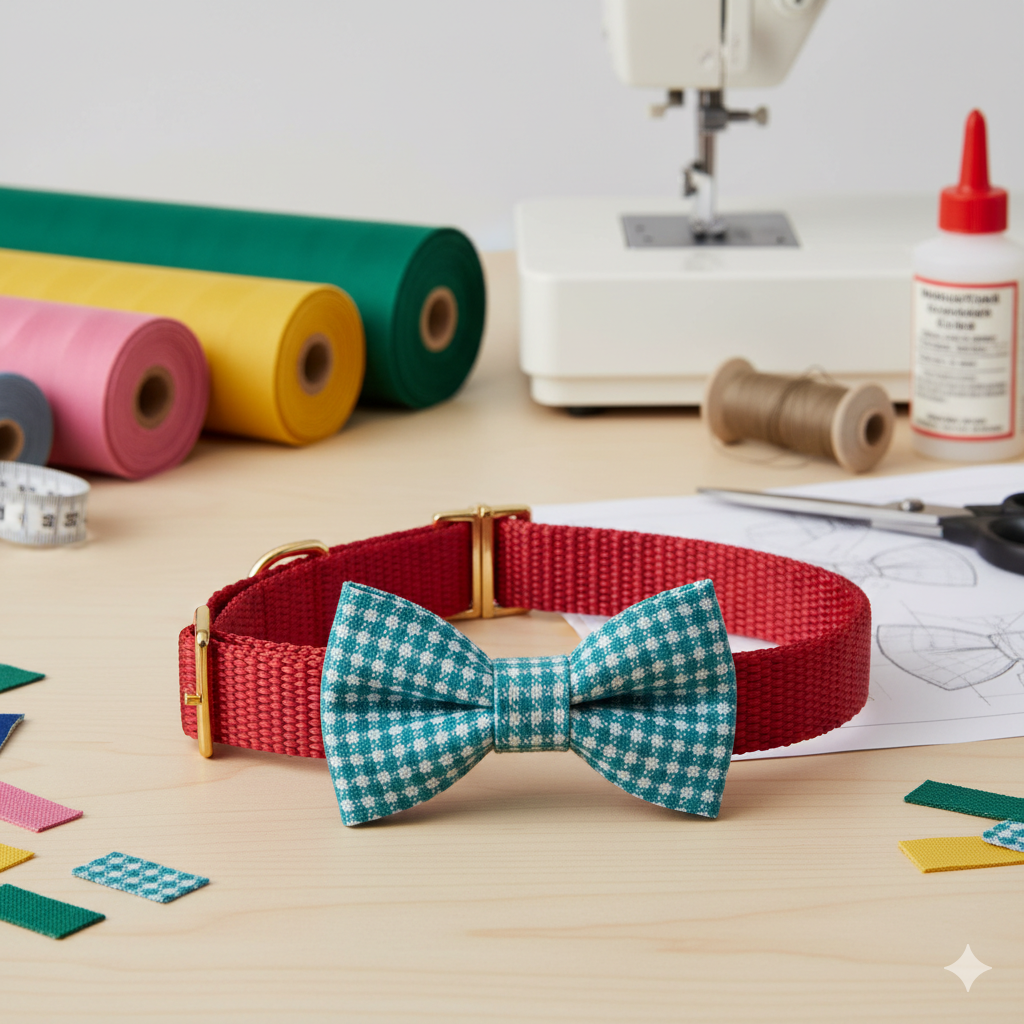
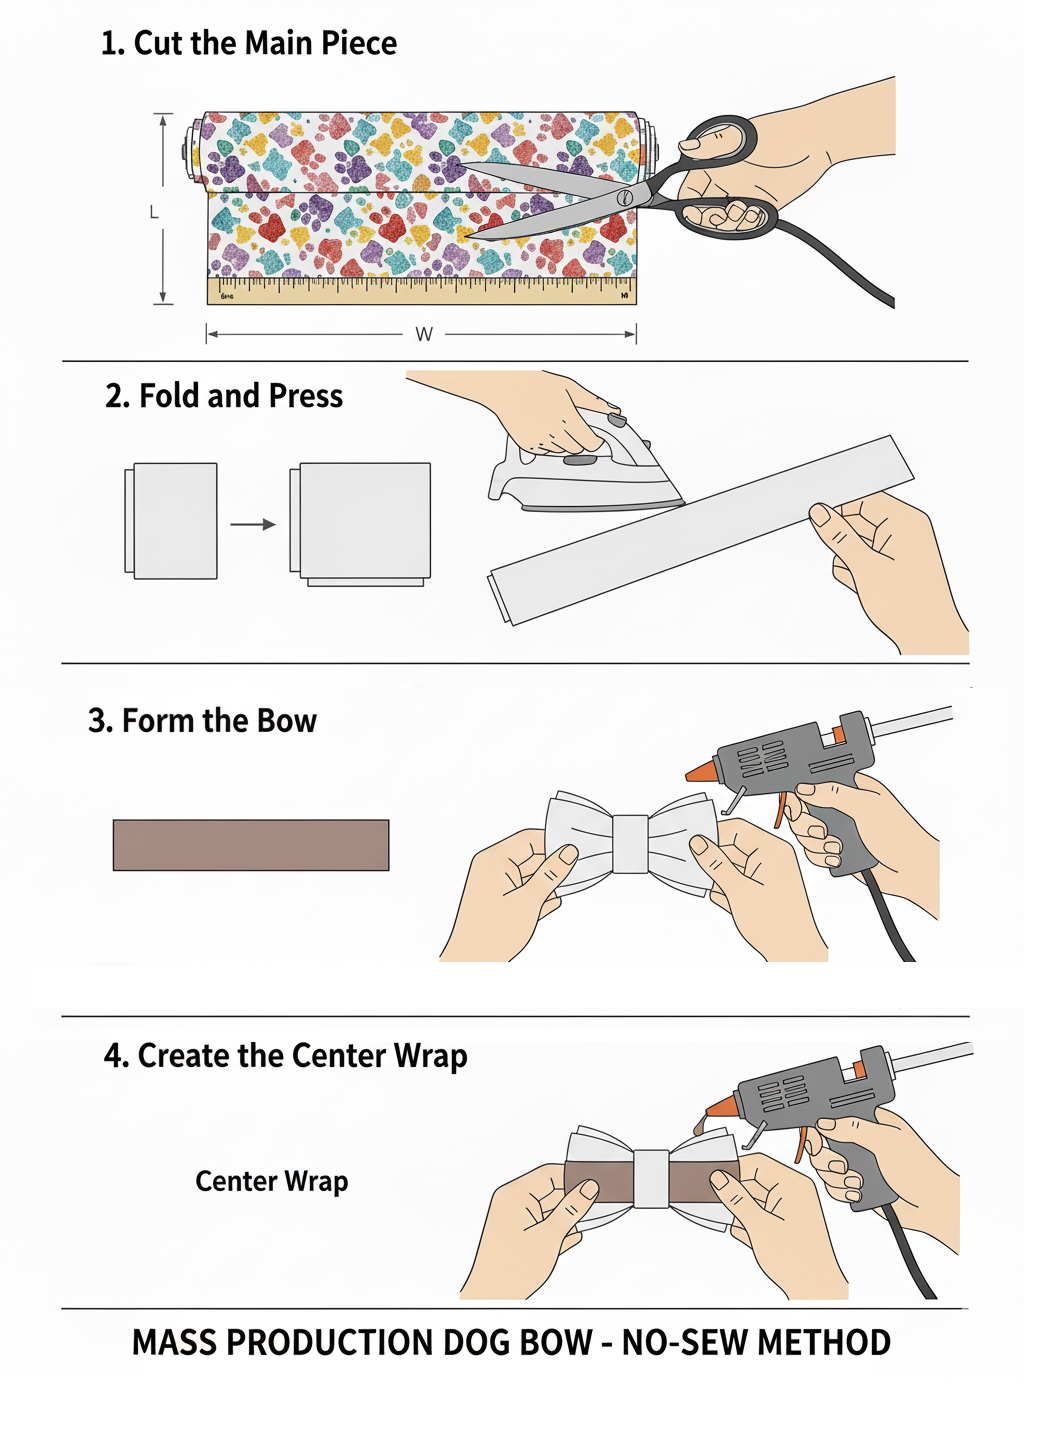
The most efficient design is usually based on a simple rectangle. Here's a streamlined process that works well for production:
- Cut the Main Piece: Start with one rectangular piece of fabric. The dimensions will determine the final size of your bow.
- Fold and Press: Fold the long edges to the center and press. This hides the raw edges and creates a clean look.
- Form the Bow: Fold the short ends to the center, overlapping them slightly. This forms the classic bow shape.
- Create the Center: Use a much smaller strip of fabric for the center wrap. This piece will cinch the middle and hold the shape.
The key decision is how you secure everything. While sewing provides a very strong bond, it's also time-consuming. For many of my projects, we've used a high-strength industrial fabric adhesive. It creates a powerful, flexible bond and dramatically cuts down on assembly time. This "no-sew" method is a game-changer for keeping costs down, especially with smaller MOQs. The goal is to minimize steps and reduce the chance of human error.
How to Attach a Bow to a Dog Collar Securely?
An insecure attachment is a designer's worst nightmare. A bow that falls off is a lost product, a customer complaint, and, worst of all, a potential choking hazard.
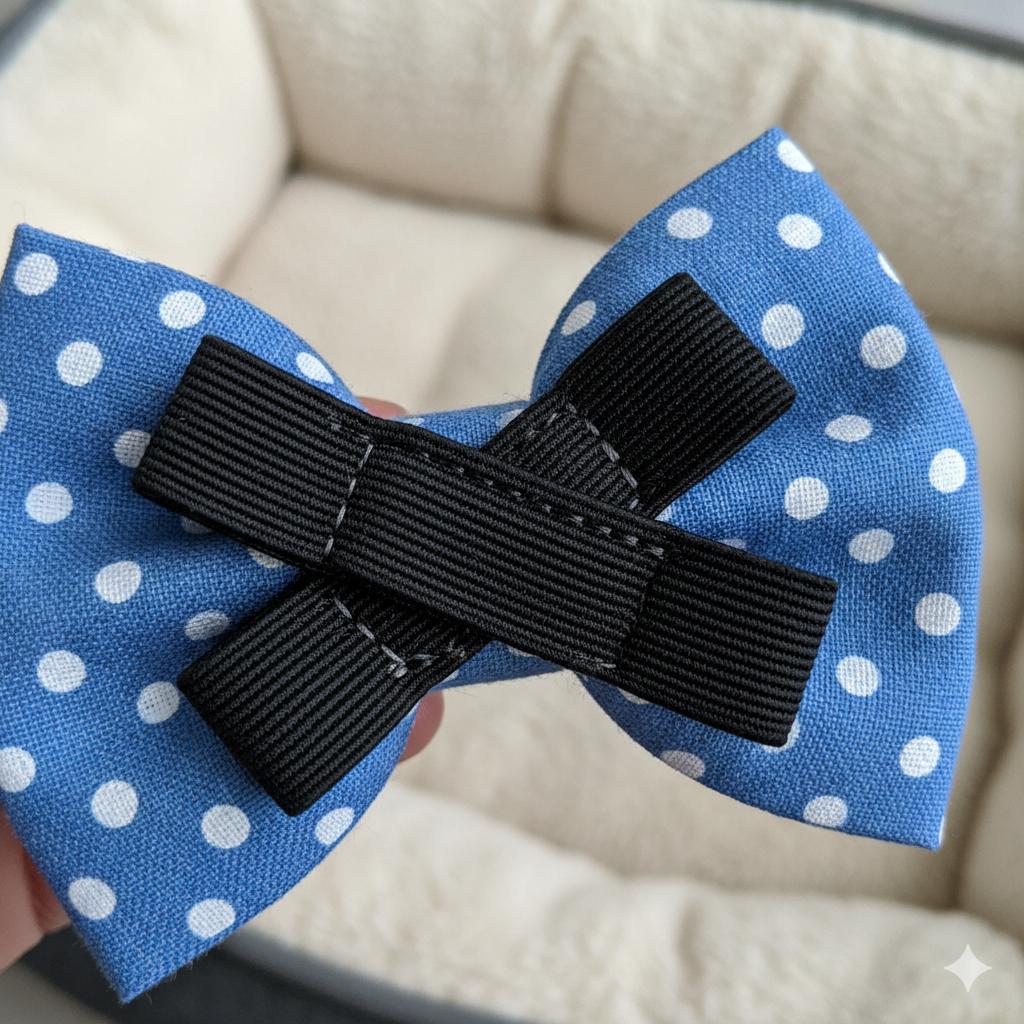
The most secure and versatile way to attach a bow to a dog collar is with two thin elastic loops on the back. This allows the collar to slide through, keeping the bow straight and preventing it from drooping or falling off. This method fits various collar widths.
The attachment is just as important as the bow itself. I've seen brands use a single, wide elastic loop, but this often causes the bow to sag and look sloppy. Others use hook-and-loop fasteners (like Velcro), which is a great idea, but the "hook" side can sometimes snag on the dog's fur or on the collar's webbing, causing it to look worn over time. Finding the right balance between security, versatility, and ease of use is crucial.
Comparing Attachment Methods
After testing many options, I’ve found the double elastic loop method to be superior for most applications. You sew two separate, parallel elastic loops onto the back of the bow. The dog collar slides through both loops, which anchors the bow firmly in place and keeps it sitting upright. It doesn't matter if the collar is 0.75 inches or 1 inch wide; the bow stays put.
Here is a comparison of common methods:
| Attachment Method | Pros | Cons | My Professional Opinion |
|---|---|---|---|
| Double Elastic Loops | Very secure, keeps bow straight, versatile | Slightly more complex to attach to the bow | The best overall choice. It's secure, professional, and user-friendly. |
| Hook-and-Loop | Easy for user to attach and detach | Can snag fur/fabric, can lose grip over time | Good for "interchangeable" bow systems, but watch for wear. |
| Single Elastic Loop | Simple to make | Bow can droop or spin, less secure on thin collars | I avoid this method. It doesn't look professional. |
When attaching the loops, stitch them directly into the center wrap of the bow before you glue or sew the final assembly. This embeds them securely within the bow's construction, ensuring they will not break off. This small detail makes a huge difference in the final product's quality and safety.
Conclusion
Making a professional dog bow is about smart material choices, efficient design, and secure attachments. By focusing on these key areas, you can create a product that is beautiful, durable, and profitable.
Cindy Long is the Sales Manager of Raysunpets and a pet lover with over 12 years of experience in exporting pet products. She specializes in providing customized dog chest carriers, leashes and pet accessory solutions for the European and American markets, always focusing on the real needs of customers and pets, and is committed to creating high-quality, practical and comfortable products that allow fur kids to live happier lives.